Are you maximizing your profit margins and efficiency in wire production? Discover the art of drawing wire process that transforms raw metal into precision wires, a crucial component for businesses thriving in the competitive market.
With a great track record in the metal fabrication industry, I bring a wealth of knowledge and practical strategies to enhance your operations. Trust in my expertise to navigate the complexities of wire drawing.
The drawing wire process is a critical, strategic operation, essential for producing high-quality wires that meet rigorous industry standards.
In this guide, we will explore the 10 phases involved in the drawing wire process, highlighting the techniques and technologies that ensure quality in every strand. From selecting the right raw materials to the finishing touches, prepare yourself to delve into a world of sophisticated craftsmanship.
Read on to master the art of wire drawing.
1. Step#1 Material Selection
To begin the drawing wire process, a meticulous approach to material selection is imperative for ensuring the wire’s quality and performance. Here are the steps to take during this phase:
- Analyze End-Use Requirements: Start by clearly understanding the wire’s intended use. Consider factors such as tensile strength, flexibility, corrosion resistance, and electrical conductivity. For instance, if the wire is for electrical purposes, high conductivity metals like copper might be the best choice.
- Evaluate Material Grades: Metals come in various grades with differing properties. For example, stainless steel is available in multiple grades, each with unique characteristics. Assess the grade of the metal that best aligns with the wire’s intended use, environmental conditions it will be exposed to, and the required durability.
- Consider Workability and Ductility: The metal’s workability is crucial in the drawing process. Choose materials that are ductile and can be drawn into thin wires without breaking. Testing the metal’s elongation rate and tensile strength will provide insights into its ductility and suitability for drawing.
- Assess Cost Implications: Finally, consider the cost of different materials and how they impact the overall project budget. While not compromising on quality, look for materials that offer a balance between cost and performance. Factor in not just the raw material cost but also the cost implications of the drawing process for different materials.
2. Step#2 Preparing the Metal
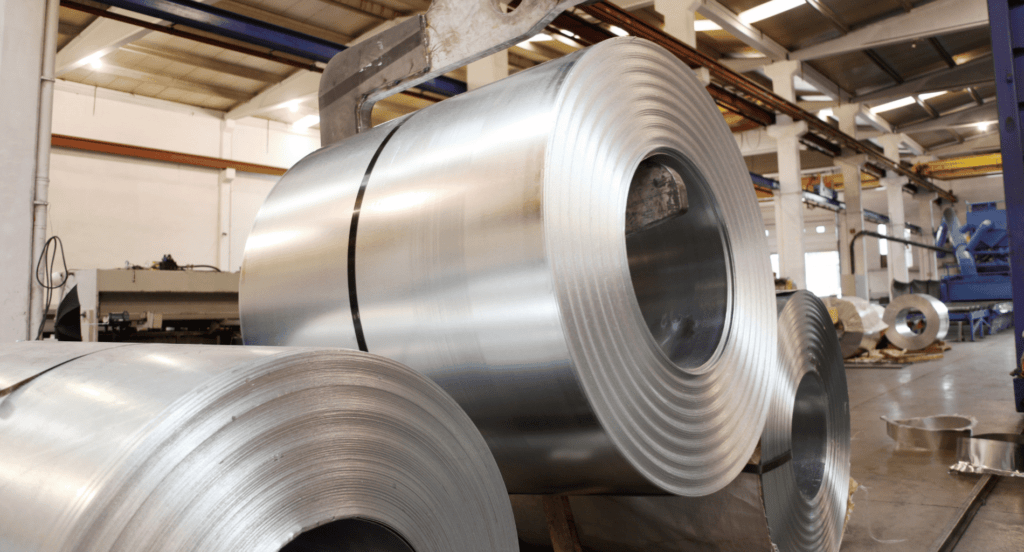
Once the material is selected, the next crucial step in the drawing wire process is preparing the metal to ensure it’s in the optimal condition for drawing. Here are the steps to effectively prepare the metal:
- Clean the Surface: Begin by thoroughly cleaning the metal to remove any dirt, grease, or oxide layers. This can be done through chemical cleaning, electrolytic cleaning, or mechanical methods. A clean surface ensures better adhesion and fewer defects during the drawing process.
- Annealing: Metals often need to be softened to enhance their ductility, which is critical for the drawing process. According to TWI Global, annealing involves heating the metal to a temperature of 300 – 410°C depending on the metal type and then slowly cooling it. This process relieves internal stresses and improves its workability.
- Coating for Lubrication: Before drawing, the metal is typically coated with a lubricant to reduce friction and wear on both the wire and the drawing dies. This step is crucial for preventing damage and ensuring a smooth drawing process. The type of lubricant used can vary based on the metal type and the specific requirements of the drawing process.
- Cutting to Size: The metal is then cut into manageable pieces or rods, which are the starting point for the drawing process. The size and shape of these pieces are determined based on the final wire dimensions and the capabilities of the drawing equipment.
3. Step#3 Setting Up the Drawing Machine
Following the preparation of the metal, the next critical phase is setting up the drawing machine, a pivotal step that dictates the efficiency and quality of the wire drawing process. Here are the steps to correctly set up the drawing machine:
- Install the Die: The first step is to select and install the appropriate die for the wire size and material you are working with. The die is a hardened tool with a specific hole size that shapes and reduces the metal. Zemetal ensures that it is securely fastened and aligned with the drawing machine’s axis for a consistent draw.
- Adjust Tension: Proper tension is crucial for the wire to be drawn smoothly through the die. Adjust the tension settings on the drawing machine to match the material’s properties and the desired wire thickness. Too much tension can break the wire, while too little can lead to uneven drawing.
- Calibrate Speed Controls: The speed at which the wire is drawn affects its quality and the machine’s efficiency. Set the drawing speed according to the material’s ductility and the machine’s capability. A controlled, steady speed ensures uniform wire thickness and prevents defects.
- Testing and Safety Checks: Before beginning the drawing process, conduct a test run to check for any issues with the setup. Ensure all safety guards are in place, and the machine is functioning correctly to prevent accidents and ensure a smooth operation.
4. Step#4 The Drawing Process
With the drawing machine meticulously set up, it’s now time to initiate the actual drawing process, where the metal is transformed into fine wire. Here are the critical steps involved in this core phase:
- Feeding the Material: Begin by feeding the prepared metal rod or wire into the drawing machine. This initial piece, often referred to as the ‘feedstock’, should be straight and properly aligned with the die to ensure a smooth entry and consistent drawing.
- Passing Through the Die: As the metal is pulled through the die, it undergoes a reduction in cross-sectional area, elongating and emerging as a thinner wire.The amount of reduction and the number of passes through successive dies depend on the desired final diameter of the wire.
- Monitoring Wire Quality: Throughout the drawing process, it’s essential to continuously monitor the wire for any defects or irregularities. This may involve visual inspections or using sensors and instruments to check for consistent diameter, surface finish, and other quality parameters.
- Cooling and Lubrication: Due to the friction and pressure involved, the wire and the die can generate significant heat. Continuously applying lubricant not only reduces friction but also helps cool the wire as it’s drawn. Some processes may also involve direct cooling methods to keep temperatures at safe levels.
5. Step#5 Sequential Drawing
Following the initial drawing process, the wire often undergoes sequential drawing, a series of steps to refine its diameter and properties. Here’s a detailed look at the specific actions taken during this stage:
- Configure the Series of Dies: Begin by setting up a series of dies in decreasing diameters. The number and size of these dies are determined based on the desired final diameter and the material’s properties. Carefully align each die in the drawing machine to ensure a smooth transition and consistent reduction.
- Apply Intermediate Annealing: Depending on the material and the extent of reduction needed, plan for intermediate annealing sessions. This involves heating the wire to a specific temperature to relieve internal stresses and then cooling it slowly. Determine the annealing points based on the wire’s work hardening rate and the total reduction in diameter required.
- Calibrate Tension and Speed for Each Stage: As the wire gets thinner, its susceptibility to breakage increases. Carefully adjust the tension and drawing speed at each stage to accommodate the wire’s decreasing diameter and increased length. The right settings prevent snapping and ensure a uniform draw.
- Conduct Regular Quality Checks: After the wire passes through each die, perform quality checks to ensure it meets the desired specifications. Measure the diameter, inspect the surface for defects, and test the mechanical properties. Any issues detected may require adjustments to the die setup, annealing process, or machine settings.
6. Step#6 Monitoring
As the wire progresses through sequential drawing, continuous monitoring is essential to maintain quality and prevent defects. Here are the steps to effectively monitor the wire drawing process to ensure optimal results:
- Implement Real-time Diameter Measurement: To begin, utilize precision measuring tools to monitor the wire’s diameter in real time as it’s drawn. This helps in instantly detecting any deviations from the desired specifications and allows for immediate adjustments to the drawing process.
- Observe Surface Quality: Regularly inspect the surface of the wire for any irregularities, such as scratches, nicks, or inclusions. High-resolution cameras and sensors can be integrated into the drawing line to detect surface defects that might affect the wire’s performance.
- Check Tension and Speed: Continuously monitor and adjust the tension and speed of the drawing process. Proper control is crucial to prevent wire breakage and ensure a uniform reduction across all stages. This may involve using sensors and automated systems that can make real-time adjustments.
- Record Process Parameters: Keep detailed records of all process parameters, including drawing speeds, temperatures, and lubricant levels. This data is invaluable for troubleshooting issues, making improvements, and ensuring consistent quality over time.
7. Step#7 Quality Control and Testing
Following rigorous monitoring, the next step in the drawing wire process is implementing thorough quality control and testing measures. This ensures the wire meets all required standards and specifications. Here are the systematic steps taken for:
- Conduct Tensile Strength Tests: Measure the wire’s tensile strength to ensure it can withstand the expected load without breaking. This is typically done by stretching a sample of wire until it breaks and recording the force applied. The results should meet or exceed the strength requirements for its intended use.
- Perform Elongation Measurements: Next, assess the ductility of the wire by measuring its elongation at break. This test indicates how much the wire can stretch before it fails and is crucial for applications where flexibility and bending are important.
- Check for Dimensional Accuracy: Regularly measure the diameter and cross-sectional area of the wire to ensure they are within the specified tolerances. Precision calipers, micrometers, or laser scanning systems can provide accurate and consistent measurements.
- Inspect Surface Quality: Finally, use visual inspections and automated surface defect detection systems to identify any surface imperfections that could compromise the wire’s performance. This includes looking for scratches, pits, or other irregularities that may have occurred during the drawing process.

8. Step#8 Post-Drawing Treatment
After the wire has passed quality control and testing, it’s subjected to post-drawing treatments to enhance its properties and performance. This phase is crucial for adding the finishing touches to the wire. Here are the steps involved in this phase:
- Cleaning: Even after drawing, the wire may have residual lubricants and debris on its surface. The first step is thoroughly cleaning the wire using chemical baths, ultrasonic cleaning, or other methods to ensure it is free from contaminants that could affect its performance or the application of further treatments.
- Heat Treatment: Depending on the material and the desired properties of the final product, the wire may undergo heat treatment processes such as annealing or stress relieving. These treatments can adjust the wire’s hardness and relieve internal stresses introduced during drawing.
- Coating: To enhance corrosion resistance, electrical conductivity, or solderability, the wire might be coated with another material. Common coatings include tin, zinc, or various polymers. The choice of coating depends on the wire’s intended use and the properties required.
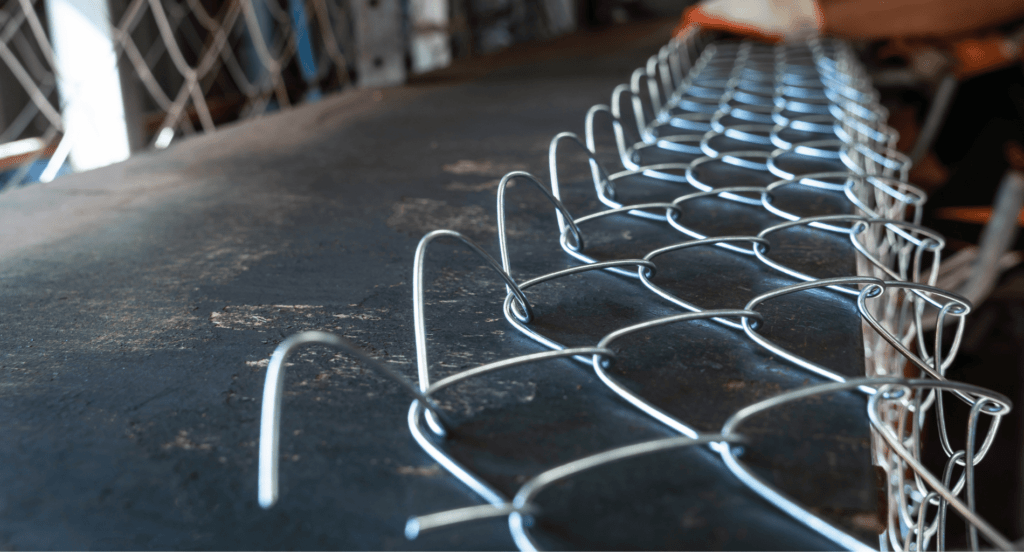
- Straightening and Cutting: Finally, the wire is straightened to eliminate any curvature introduced during the drawing process and then cut to specific lengths as required. This is typically done using automated machinery that ensures precise and consistent results.
9. Step#9 Final Inspection
After the wire has undergone post-drawing treatment, a final inspection is conducted to ensure the highest quality and adherence to specifications. This rigorous inspection is the last quality checkpoint. Here’s how it’s typically carried out:
- Set Up Inspection Stations: Begin by setting up various inspection stations, each designed to check specific aspects of the wire. This might include stations for visual inspection and performance testing. Zemetal ensures each station is equipped with the appropriate tools and instruments for easier inspection of each of their finished products.
- Conduct a Visual Check: At the visual inspection station, inspectors meticulously examine the wire for any surface defects such as scratches, pits, or uneven coatings. This often involves using magnification tools and high-intensity lighting to detect even the slightest imperfections.
- Measure Dimensions: Move the wire to the dimensional measurement station, where precision tools like micrometers, calipers, and laser micrometers are used to measure its diameter, length, and straightness. Ensure each measurement is within the specified tolerances for the product.
- Perform Functional Tests: Depending on the wire’s intended use, it may need to pass through stations where functional tests are conducted. This could include electrical resistance tests for conductive wires or tensile strength tests. The specific tests are determined based on the wire’s application and the properties that are critical to its performance.
- Documenting and Reporting: As the wire passes each inspection station, record the findings and measurements. If the wire fails any of the checks, it should be set aside for further analysis or rework. Compile the results into a final inspection report that accompanies the wire to its destination.
This table outlines the key steps in documenting and reporting during the wire inspection process, highlighting the importance of thorough record-keeping and quality assurance throughout the journey of the wire to its final destination.
| Stage | Process | Purpose |
| Inspection Station Recording | Record findings and measurements as the wire passes each inspection station. | Ensures that all inspections are thoroughly documented for quality control. |
| Handling Failed Checks | Set aside wire that fails any checks for further analysis or rework. | Allows for identification and correction of defects, ensuring only quality wire is sent forward. |
| Final Inspection Report | Compile results into a final report that accompanies the wire to its destination. | Provides a comprehensive record of the wire’s quality and compliance with standards for the end user or next stage of processing. |
10. Step#10 Coiling and Packaging
Once the wire has passed the final inspection, it’s time for the last step: coiling and packaging, which prepares the wire for storage and shipping. Here’s how this phase typically conducted:
- Choose the Right Spool or Coil: Initially, select a spool or coil size that is appropriate for the wire’s diameter and length. The material of the spool, whether plastic or metal, should also be chosen based on the wire’s weight and the conditions it might encounter during shipping and storage.
- Winding the Wire: Carefully wind the wire onto the spool or into a coil. This should be done in a manner that prevents tangling and kinks, ensuring the wire remains straight and undamaged. Automated coiling machines are often used for this process to maintain tension and consistency.
- Apply Protective Wrapping: Once the wire is coiled, it may be wrapped with a protective layer such as plastic wrap or paper. This helps safeguard the wire against moisture, dust, and other environmental factors that could damage its surface or properties.
- Final Packaging and Labeling: Place the coiled wire into a sturdy box or crate for shipping. The package should be sealed securely and labeled with all necessary information, including wire type, dimensions, and handling instructions.This ensures that the wire is transported safely and can be easily identified upon arrival.
Conclusion
This guide offers a comprehensive journey through each stage, ensuring precision and quality in wire production. For businesses, this information is crucial in optimizing their operations and maintaining high standards.
If you’re seeking expert assistance or further insights into the drawing wire process, Zemetal is here to help. For detailed guidance tailored to your business needs, contact us today.
Dive Deeper Into Our Resources
Looking for more diverse service options? Browse through our handpicked selections:
Still haven’t found what you’re looking for? Don’t hesitate to contact us. We’re available around the clock to assist you.


