Are you leveraging the full potential of sheet metal bending to elevate your business? This process transforms a simple sheet of metal into a multifaceted component, essential for various applications across industries.
As a metal fabrication specialist, I bring a wealth of practical expertise to you. My journey through countless projects ensures that the insights shared here are relevant and game-changers for your operational efficiency.
The sheet metal bending process is more than just a technical procedure; it’s the backbone of high-quality, durable products. Mastering it means unlocking new levels of craftsmanship and innovation.
In this guide, we will explore the 7 key steps that constitute the sheet metal bending process. You’ll learn about each phase in detail, from the initial preparation to the critical final inspection, and understand how they collectively contribute to a flawless finished product.
Read on to unlock the secrets of efficient metal bending.
1. Step#1 Tool and Equipment Setup
To begin the sheet metal bending process, a proper setup of tools and equipment is crucial. Here are the fundamental steps to ensure everything is correctly prepared:
- Select the Right Tools: Choose tools that are compatible with the metal type and thickness you’re working with. The right tools minimize damage and ensure a clean bend. It’s essential to understand the properties of the material to match it with the appropriate bending tools.
- Set Up the Bending Machine: Calibrate the machine according to the specific requirements of your project. This includes adjusting the bending angle, the pressure, and ensuring all safety measures are in place. A well-set machine is pivotal for precision and repeatability.
- Prepare Work Area: Keep the work area clean and organized. Ensure all necessary tools are within reach and the space is free of any obstacles that could hinder the bending process. Zemetal’s well-organized workspace facilitates efficiency and reduces the risk of accidents during the process.
- Conduct a Trial Run: Before proceeding with the actual bending, perform a trial run with a scrap piece of metal. This helps in identifying any issues with the machine settings or the tool alignment. Adjustments made post-trial ensure the final product meets the desired specifications.
2. Step#2 Preparing Sheet Metal
Once the tools and equipment are set up, the next critical phase is preparing the sheet metal for bending. Here are the essential steps to ensure the metal is ready for a flawless bending process:
- Clean the Metal: Start by thoroughly cleaning the sheet to remove any rust or grease. A clean surface ensures better bending and helps to prevent any defects in the final product. Use appropriate cleaning agents and techniques depending on the type of metal you’re working with.
- Mark the Bend Lines: Precisely mark where the bends need to be made using a suitable marking tool. The accuracy of these lines is crucial as they guide the bending process. Use a straight edge and measuring tools to ensure lines are accurate and clear.
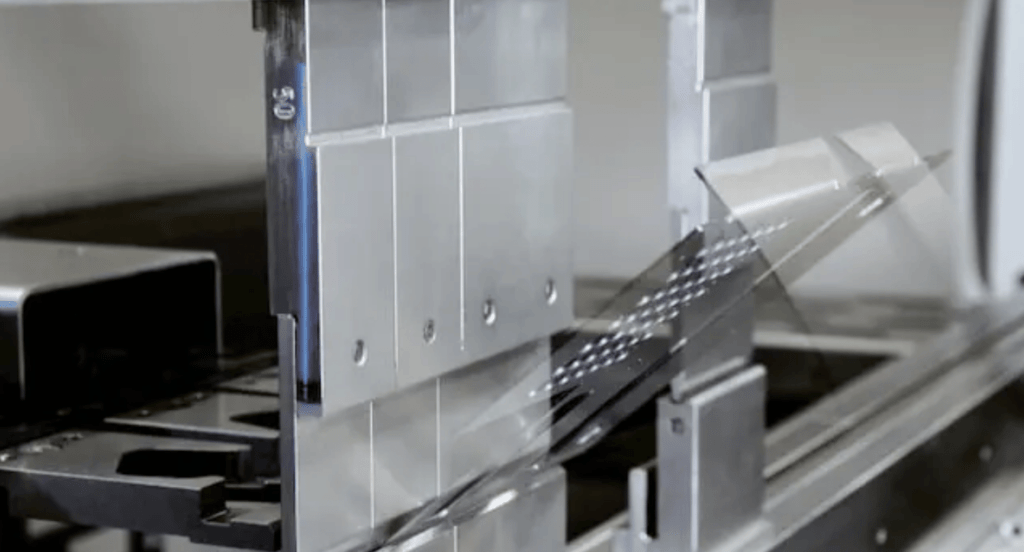
- Check Metal Thickness and Grain Direction: Confirm the thickness of the sheet metal with calipers and note the direction of the grain. Bending along the grain can reduce the risk of cracking and increase the strength of the bend. Adjustments may need to be made to the bending process based on these factors.
- Apply a Protective Film: If necessary, apply a protective film to the metal surface, especially if it’s a polished or delicate material. This helps prevent scratches and other damage during the bending process. Ensure the film is compatible with the metal and the bending process.
3. Step#3 Choosing the Right Bending Method
Following the preparation of sheet metal, selecting the appropriate bending method is pivotal to the process’s success. Here are the steps to guide you in making the best choice for your specific project:
- Understand Material Specifications: Recognize the properties of the material you are working with, including its thickness and ductility. Different materials respond differently to bending methods, and choosing the right one is essential for maintaining the integrity and aesthetics of the metal.
- Consider the Bend Angle and Radius: Evaluate the required bend angle and radius for your project. Tighter bends may require specialized techniques to avoid cracking, while larger, more gradual bends might be suited to standard methods. The right method ensures the bend is clean and accurate.
- Analyze Production Volume and Efficiency: Take into account the volume of parts needed and the efficiency of the bending process. For example, in high-volume production, methods like rotary bending might be efficient, while for intricate, low-volume projects, press brake bending could be more suitable.
- Assess Available Machinery and Expertise: Match the bending method with the machinery you have and the expertise of your team. For example, if you have a state-of-the-art CNC press brake and operators who are skilled in its use, you might opt for air bending or bottoming. Each machine has its capabilities, and it’s essential to align these with your bending needs.
This table outlines considerations for matching bending methods with available machinery and team expertise, emphasizing the importance of aligning capabilities with project requirements.
| Factor | Description | Relevance in Bending Process |
| Machinery Type | Type of bending machine available | Determines feasible bending methods |
| Operator Expertise | Skill level of operators with specific machines | Influences precision and quality of bends |
| Machine Capabilities | Limits and strengths of each machine | Guides selection of suitable bending techniques |
| Project Requirements | Specific needs of the bending task | Aligns machine choice with desired outcomes |
| Continuous Training | Keeping operators updated on new technologies | Ensures optimal use of machinery and techniques |
4. Step#4 Calculating Bend Allowance
Transitioning from choosing the right bending method, the next critical step is accurately calculating the bend allowance, which is essential for achieving precise dimensions. Here are the steps to ensure you calculate the bend allowance correctly:
- Understand the Concept of Bend Allowance: Bend allowance refers to the extra length of sheet metal required to accommodate the bend. It’s crucial to get this right, as it affects the overall dimensions of the finished product. The calculation depends on factors like bend angle, material type, and thickness.
- Measure Material Thickness and Bend Radius: Start by measuring the thickness of the sheet metal and the radius of the bend you’re planning. These measurements are critical inputs in the bend allowance formula. The bend radius should be as consistent as possible to ensure accurate calculations.
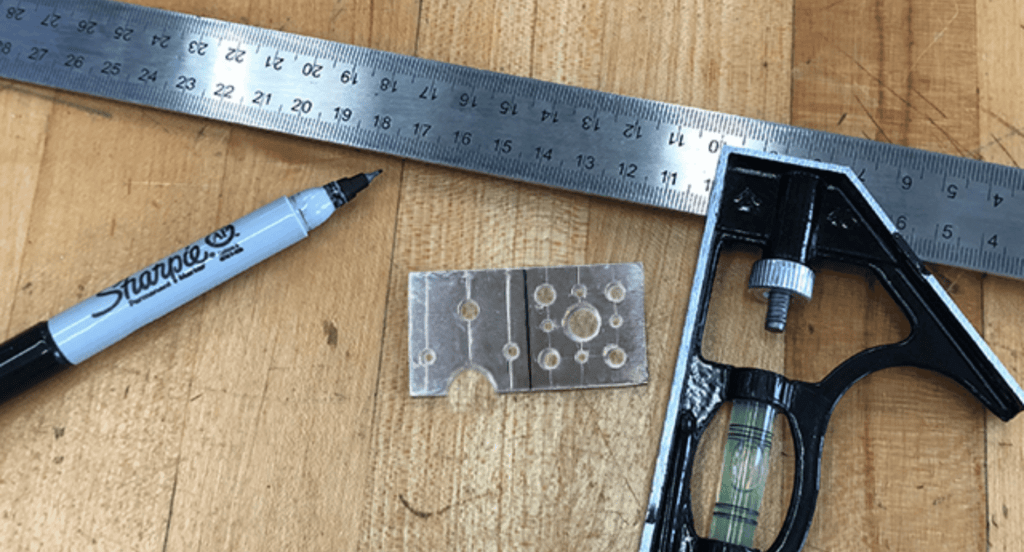
- Use the Appropriate Formula: Apply the correct formula for calculating bend allowance. According to HARSLE, the commonly used formula is BA = Angle * (π / 180) * (Radius + K-factor * Thickness), where the K-factor is a variable that accounts for the material’s ability to stretch and should be determined based on the material type and the bending process.
- Double-Check with a Test Bend: After calculating the bend allowance, it’s wise to perform a test bend, especially for large or critical projects. For instance, compare the expected dimensions with the actual results and adjust your calculations as necessary. This step helps you to prevent costly mistakes in production.
5. Step#5 Setting up the Bending Machine
After calculating the bend allowance, the next step is setting up the bending machine accurately to ensure a smooth and precise bending process. Here are the essential steps to properly set up your bending machine:
- Select the Right Die and Punch: Based on the material thickness and bend radius, choose the appropriate die and punch for your machine. The right combination is crucial for achieving the desired bend without damaging the metal. Ensure they are in good condition and properly aligned.
- Adjust the Bending Angle and Pressure: Program the machine with the specific bending angle required for your project. Adjust the pressure settings according to the material thickness and the type of bend. This is vital for achieving a clean, accurate bend without overworking the metal.
- Position the Backstops: Correctly position the backstops to ensure precise alignment and consistent bend placement. This is especially important for multiple bends or when working with long pieces of metal. The backstops guide the metal during the bend, ensuring it goes exactly where you want it.
- Conduct a Test Bend: Before running the entire batch, perform a test bend with a spare piece of metal. Check if the bend angle and placement meet the project specifications. Any necessary adjustments should be made now to avoid mistakes in the actual production run.
6. Step#6 The Bending Process
With the bending machine set up and ready, it’s time to dive into the actual bending process. Here are the critical steps to ensure a successful and precise bending operation:
- Inserting the Sheet Metal: Carefully place the sheet metal into the machine, aligning it with the backstops and ensuring it’s flush against the die. Proper positioning is crucial for a precise bend. Take your time to ensure the metal is correctly aligned before proceeding.
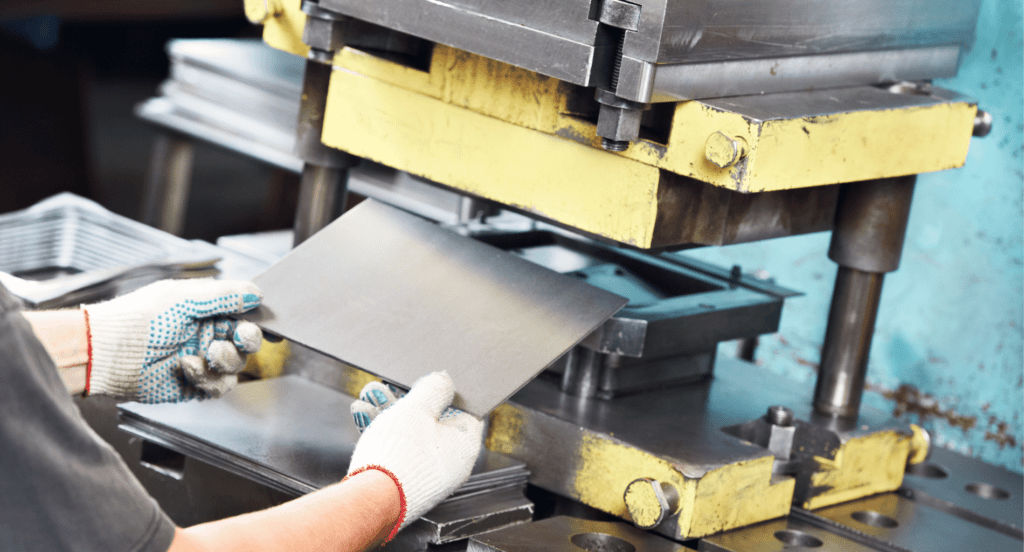
- Applying the Bend: Initiate the bending cycle. The punch will press the metal into the die, creating the bend. Zemetal monitors the process closely to ensure the machine is functioning as expected and the bend is forming correctly.
- Inspecting the Bend: After the machine has completed the bend, inspect the angle and placement. Use a protractor or angle finder to confirm that it meets the project’s specifications. It’s essential to catch any issues early before proceeding with additional bends.
- Repeating for Additional Bends: If your project requires multiple bends, reposition the metal for the next bend, ensuring it’s properly aligned with the backstops and the die. Repeat the bending process, inspecting each bend for accuracy and consistency. Maintaining a rhythm and a keen eye for detail is key to efficient and successful bending.
7. Step#7 Quality Control and Inspection
After the bending process is complete, the final and crucial step is quality control and inspection to ensure the product meets all specifications and standards. Here are the key steps in a thorough quality control process:
- Visual Inspection: Begin with a visual inspection of the bent components. Look for any signs of cracking, over-bending, or other deformities. The surface should be smooth, and the angles should match the project specifications. This initial check helps identify obvious issues before a more detailed inspection.
- Measure Bend Angles and Dimensions: Use precision tools such as protractors, angle finders, and calipers to measure the bend angles and dimensions of the metal. Compare these measurements against the project’s specifications to ensure they are within the acceptable tolerance range.
- Check Surface Quality: Examine the surface of the metal for any scratches or imperfections that may have occurred during the bending process. A flawless surface is often critical, especially for visible components. Any issues with surface quality can affect the performance and appearance of the final product.
- Document and Address Issues: Document any issues from the specifications. If any part fails to meet the quality standards, determine the cause and decide if it can be corrected.Consistent documentation helps in tracking performance over time and identifying areas for improvement in the bending process.
Conclusion
Mastering the 7 key steps in the sheet metal bending process can significantly enhance the efficiency and quality of your operations. This guide provides a comprehensive roadmap to help you achieve precision and excellence in every bend.
If you’re looking for expert assistance in optimizing your sheet metal bending process, Zemetal is here to help. Contact us to explore our services and elevate your projects today.
Dive Deeper Into Our Resources
Looking for more diverse service options? Browse through our handpicked selections:
For some insightful reads, we’ve curated a list of recommended articles just for you:
Still haven’t found what you’re looking for? Don’t hesitate to contact us. We’re available around the clock to assist you.


