Is your operation leveraging the full potential of hot dip galvanizing? Discover how this critical process can enhance durability and performance in metal products.
As an expert entrenched in the metal fabrication industry, my insights draw from a deep well of experience and continuous learning. My goal is to impart knowledge that fortifies your operations and decision-making.
The hot dip galvanized process stands as a testament to industrial creativity, offering durability and cost-effectiveness. This method is not just a treatment; it’s a strategic enhancement for any metal work.
In this guide, we will walk through the essential steps of the hot dip galvanized process, shedding light on its technicalities and benefits. From preparation to inspection, every phase is a critical component in achieving a superior finish.
Read on to unlock the power of hot dip galvanizing for your business.
1. Step#1 Preparing the Surface
To begin the hot dip galvanized process, meticulous surface preparation is paramount. Here are the fundamental steps to ensure optimal adhesion and finish:
- Cleaning: Begin with a thorough cleaning to remove any dirt, oil, or debris. This usually involves a degreasing solvent or alkaline solution, ensuring that the surface is free from any contaminants that might hinder the galvanizing process.
- Rust and Scale Removal: Once clean, the next step is to remove any rust or mill scale. This is typically done through pickling in an acidic solution, such as diluted hydrochloric or sulfuric acid. The aim is to expose a clean, bare metal surface, which is essential for a strong bond with zinc.
- Surface Rinsing: After pickling, the metal is thoroughly rinsed with water to remove any residual acid or contaminants. This step ensures that no impurities interfere with the galvanizing process and that the surface is completely ready for the subsequent steps.
- Drying: Finally, the metal needs to be completely dried. Any moisture remaining on the surface can cause issues during the galvanizing process, such as poor adhesion or uneven coating. Drying is typically achieved through air drying or using a drying oven.
2. Step#2 Fluxing
Continuing from the meticulous preparation of the surface, fluxing is a critical bridge to the actual galvanizing step. Here are the crucial steps involved in the fluxing process:
- Prepare the Flux Solution: The flux solution, often a mixture of zinc ammonium chloride, is prepared to specific concentrations. This is vital to ensure it effectively covers the metal surface. The correct balance of chemicals in the flux solution is crucial for its effectiveness and the quality of the final galvanized product.
- Immersing the Metal: Once the solution is ready, the metal is immersed into the flux. This step ensures that the entire surface is coated, which helps in removing any remaining oxides and prevents further oxidation. Uniform coverage is key to achieving a consistent galvanized coating.
- Ensure Complete Coverage: During immersion, it’s essential to ensure that the flux solution reaches every part of the metal surface. Complex shapes may require movement to remove air bubbles or ensure the solution penetrates on interior spaces. Complete coverage is essential for a uniform and defect-free final galvanized coating.
- Drying the Fluxed Metal: After the metal is thoroughly coated with the flux solution, it must be dried. The drying process is crucial to prevent splattering when the metal is introduced to the hot zinc. Any moisture left on the metal can react violently with the molten zinc, compromising the quality of the galvanized coating.
3. Step#3 Galvanizing Bath
Following the crucial fluxing process, the metal is ready for the centerpiece of the hot dip galvanizing process: the galvanizing bath. Here are the steps involved in this critical phase:
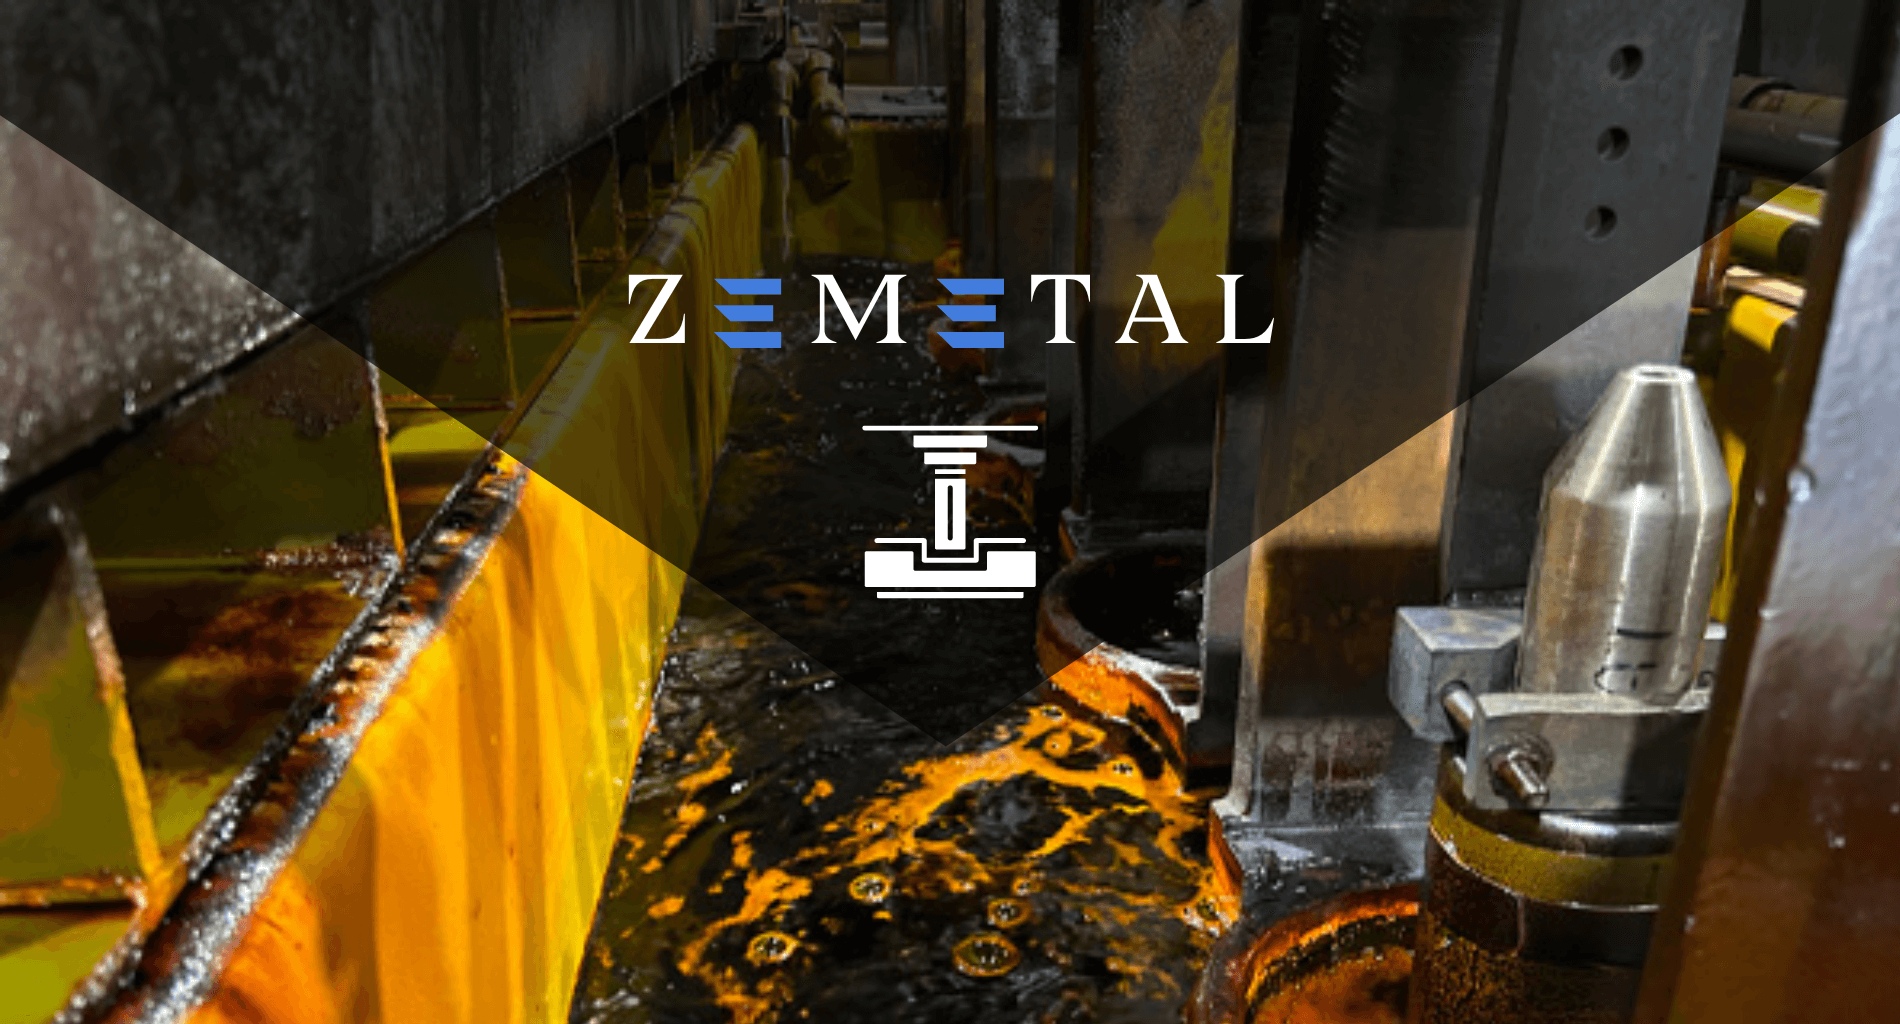
- Introduction to the Zinc Bath: Initially, the fluxed metal is submerged into a bath of molten zinc, typically heated to around 840°F (443C), reported by the American Galvaniizers Association. This temperature is optimal for zinc to bond with the steel, creating a series of zinc-iron alloy layers topped by a pure zinc layer.
- Alloy Layer Formation: As the metal sits in the zinc bath, a metallurgical reaction occurs between the iron in the steel and the zinc. This reaction is crucial for forming a series of zinc-iron alloy layers, which are harder than base steel and provide primary corrosion protection.
- Ensuring Even Coating: The metal must be moved around in the zinc bath to ensure the molten zinc reaches every nook and cranny, providing a uniform and comprehensive coating. This is especially important for complex shapes where air pockets might prevent zinc from covering all areas.
- Withdrawal and Draining: After the metal reaches the desired temperature and coating thickness, it’s slowly withdrawn from the zinc bath. It’s essential to allow the excess zinc to drain off to avoid drips and uneven thickness. The way the metal is withdrawn can affect the coating’s finish and overall quality, so it’s typically done carefully and methodically.
4. Step#4 Quenching
Transitioning from the intense environment of the galvanizing bath, quenching is a critical phase designed to stabilize and set the zinc coating. Here are the detailed steps involved in the quenching process:

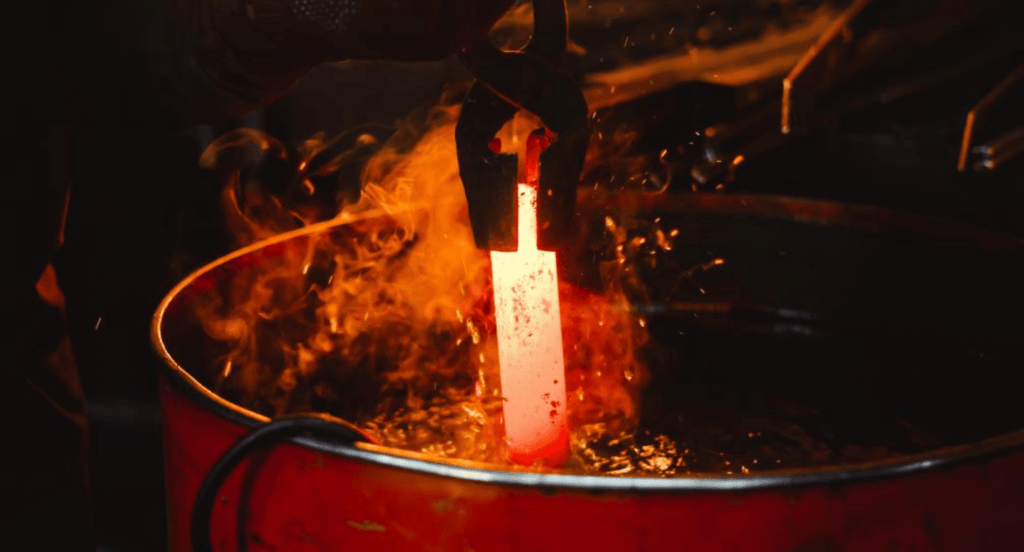
- Initial Immersion: As soon as the metal exits the galvanizing bath, it is immediately immersed in a quench tank. This tank is typically filled with water or a water-based solution. The initial immersion is crucial, as it halts the metallurgical reaction between the zinc and steel, fixing the coating in place.
- Temperature Control: The quenching medium is carefully maintained at a specific temperature to ensure rapid cooling without inducing thermal shock. The objective is to cool the metal quickly but uniformly, avoiding any warping or distortion that could compromise the structural integrity of the piece.
- Monitoring and Adjustment: Throughout the quenching process, the temperature and condition of the quenching medium are monitored and adjusted. This ensures consistent cooling across different batches and sizes of metal. Zemetal frequently adjusts the immersion time and agitation based on the specific requirements of the coating.
- Final Inspection and Drying: After quenching, the metal is carefully inspected for any signs of thermal stress, such as cracking or warping. Once confirmed that the metal has cooled uniformly and the coating is intact, it’s moved to a drying area to remove any residual moisture. This step is vital to prevent any water spots or oxidation from forming on the new coating.
5. Step#5 Inspection and Quality Control
Following the quenching process, inspection and quality control are imperative to ensure the integrity and durability of the galvanized coating. Here are the key steps in this critical phase:
- Visual Inspection: The first step is a thorough visual inspection of the galvanized item. Professionals look for uniformity in the coating, checking for any uncoated areas, blisters, or other surface irregularities. This step ensures that appearance meets the required standards and that there are no visible defects.
- Thickness Testing: Using a magnetic gauge, Zemetal measure the thickness of the zinc coating at various points on the metal. This step is crucial to ensure that the coating meets the minimum thickness requirements for the intended application. For instance, a structural beam used in construction might require a thicker, more durable coating compared to a decorative element.
- Adherence Test: To check the adhesion of the zinc coating, a stout knife or another appropriate tool is used to attempt to peel or lift the coating. A well-applied coating should not flake or peel away. This test is vital for ensuring the long-term durability of the coating, especially in structural applications.
- Finish and Quality Checks: Finally, the surface is inspected for smoothness and finish. For instance, any rough spots, sharp edges, or other inconsistencies are noted. The overall quality of the finished product is assessed against industry standards and specifications to ensure it meets all the required criteria.
6. Step#6 Finishing Touches
With the inspection and quality control complete, the focus shifts to the finishing touches that enhance the product’s functionality and aesthetics. Here are the critical steps involved in perfecting the hot dip galvanized item:
- Smoothing and Grinding: Any rough spots, burrs, or sharp edges left after the galvanizing process are addressed in this step. Smoothing and grinding ensure that the surface is safe to handle and meets the required finish quality. This not only improves appearance but also prevents injury during handling and installation.
- Post-Treatment for Enhanced Protection: In some cases, additional protective treatments, such as passivation or sealing, are applied to further enhance corrosion resistance and durability. These treatments can also provide a more desirable finish, offering a matte or shiny appearance based on the client’s needs.
- Color Coding and Marking: For components that are part of larger structures, color coding or marking may be applied for easy identification during assembly or installation. This step is crucial for ensuring that the right piece goes to the right place, facilitating a smoother construction or manufacturing process.
- Final Inspection and Packaging: Once all finishing touches have been applied, a final inspection is conducted to ensure that the product meets all specifications and quality standards. After passing inspection, the items are sent for packaging, with measures taken to prevent damage.
7. Step#7 Packaging and Delivery
After applying the finishing touches, the final step in the hot dip galvanizing process is ensuring the product reaches the customer in perfect condition. Here are the essential steps for effective packaging and delivery:
- Assessment of Transport Requirements: Before packaging, it’s essential to assess the size, weight, and sensitivity of the galvanized items. This step determines the type of packaging and the mode of transportation required to deliver the products safely and efficiently.
This table details the critical factors in assessing transport requirements for galvanized items, focusing on ensuring safe and efficient delivery through appropriate packaging and transportation methods.
| Assessment Factor | Description | Impact on Transportation and Packaging |
| Size of the Galvanized Items | Determines the scale of packaging needed | Influences packaging material and design |
| Weight Considerations | Affects handling and transport logistics | Guides choice of transport mode and equipment |
| Sensitivity to Damage | Assesses vulnerability to scratches or dents | Dictates protective packaging requirements |
| Environmental Conditions | Considers temperature, humidity, etc. | Influences packaging materials and transport choices |
| Destination Accessibility | Evaluates ease of delivery to the final location | Influences transport mode and route planning |
- Protective Packaging: After assessing, each item is wrapped to protect against scratches and corrosion during transit. This demand shows the growth of protective packaging expecting to register a CAGR of 6%, reported by Global Market Insights. With this surge, note that the type of protective material used varies depending on the item’s size, shape, and sensitivity.
- Loading and Securing for Transit: Items are carefully loaded into the delivery vehicle and secured to prevent movement that could cause damage. Whether the product is being delivered locally or shipped internationally, securing the load is critical to prevent accidents and ensure safe delivery.
- Delivery and Offloading Instructions: Along with the packaged items, clear instructions for safe handling, unloading, and installation are provided. This ensures that the receiving party knows how to handle the material properly and can maintain the integrity of the galvanized coating until the final installation.
Conclusion
In wrapping up our journey through this guide, it serves as a comprehensive roadmap for businesses to enhance their metal products’ quality and longevity. Each step, from surface preparation to packaging, plays a pivotal role in achieving a superior galvanized finish.
If your business is exploring the benefits of hot dip galvanizing, Zemetal is here to guide you through every step with expertise and precision. For more detailed insights tailored to your needs, feel free to contact us.
Dive Deeper Into Our Resources
Looking for more diverse service options? Browse through our handpicked selections:
For some insightful reads, we’ve curated a list of recommended articles just for you:
Still haven’t found what you’re looking for? Don’t hesitate to contact us. We’re available around the clock to assist you.


