Are you looking to elevate the quality and durability of your aluminum products? The key could be in the anodizing process, transforming aluminum into a visually appealing material suited for various business applications.
As an expert in the metal fabrication industry, my insights into the anodizing process are based on practical knowledge and a deep understanding of the technicalities involved.
Anodizing of aluminum is more than just a surface treatment; it’s a transformation. This process alters the metal at a molecular level, providing a finish that is integral to the aluminum itself.
In this guide, we will delve into the 6 critical steps of the anodizing process. By understanding each stage, businesses can make informed decisions about their metal fabrication needs, leading to better product quality and enhanced customer satisfaction.
Read on to uncover the complexities of this process.
1. Step#1 Materials and Equipment Required
To begin the anodizing process, the right materials and equipment are fundamental. These components ensure efficiency and quality in the final anodized aluminum product. Here are the essential items needed:
- Aluminum Workpieces: Initially, choose high-quality aluminum with minimal surface defects. The purity and alloy composition of the aluminum impact the final appearance and quality of the anodized layer. It’s crucial to select aluminum workpieces that are suitable for anodizing, ensuring consistent and desirable results.
- Anodizing Tank: Look for a container made from a material resistant to strong acids. The size of the tank should be appropriate for the size of the aluminum pieces to be anodized. The tank must withstand the acidic environment during the anodizing process, which is crucial for achieving a uniform anodized layer.
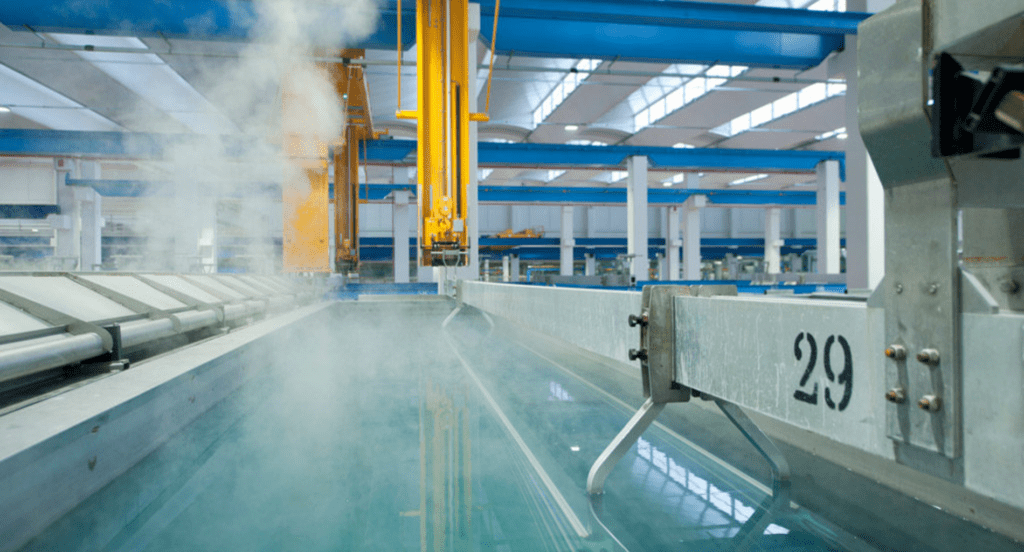
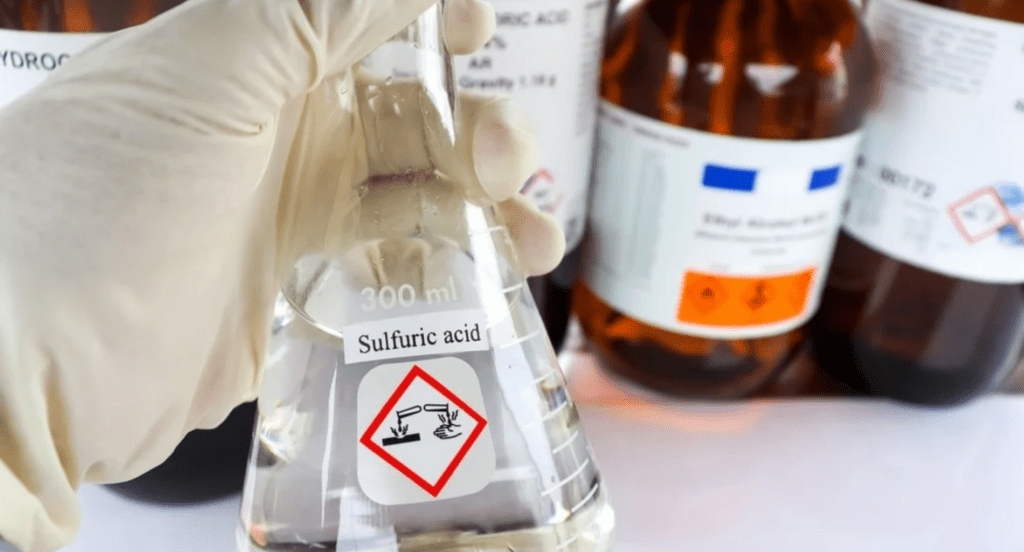
- Acid Solution (usually Sulfuric Acid): The electrolyte used in the anodizing tank. The concentration and temperature of the acid solution are critical factors that influence the thickness and properties of the anodized layer. It’s important to handle acid with care, following safety guidelines to prevent accidents.
- Electrical Power Supply: Lastly, a direct current (DC) power source is required to facilitate the electrolytic reaction in the anodizing tank. Make sure that the voltage settings are adjustable depending on the desired characteristics of the anodized layer. Consistent and reliable power supply is essential for maintaining the quality of the anodizing process.
2. Step#2 Preparation of Aluminum
Once the materials and equipment are in place, the next crucial phase is preparing the aluminum for anodizing. This preparation is key to the quality of the anodizing process. Here are the essential steps in preparing aluminum:
- Cleaning: Begin by thoroughly cleaning the aluminum workpieces to remove any dirt, grease, or debris. For example, using a chemical or alkaline-based cleaner to perform this step. Clean surfaces are crucial for uniform anodizing, as contaminants can lead to poor adhesion of the anodized layer.
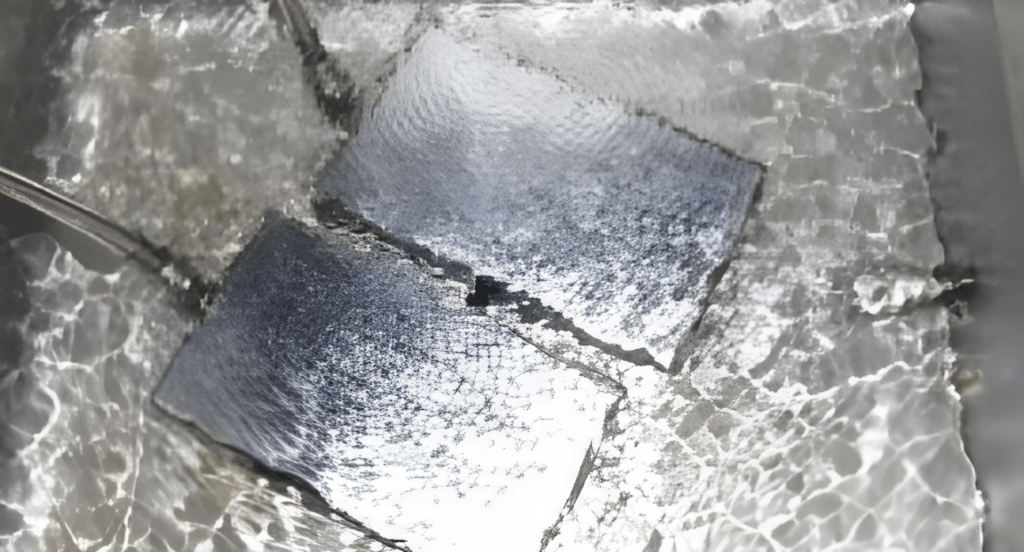
- Rinsing: After cleaning, rinse the aluminum pieces with deionized or distilled water. This step removes any residual cleaning agents and prepares the surface for the next stage. Proper rinsing ensures that no contaminants interfere with the anodizing process.
- Etching: Etching involves immersing the aluminum in an acidic solution, typically a mixture of sodium hydroxide. This step helps to smoothen the surface by removing a thin layer of aluminum. A well-etched surface enhances the anodizing process by providing a uniform texture for consistent anodization.
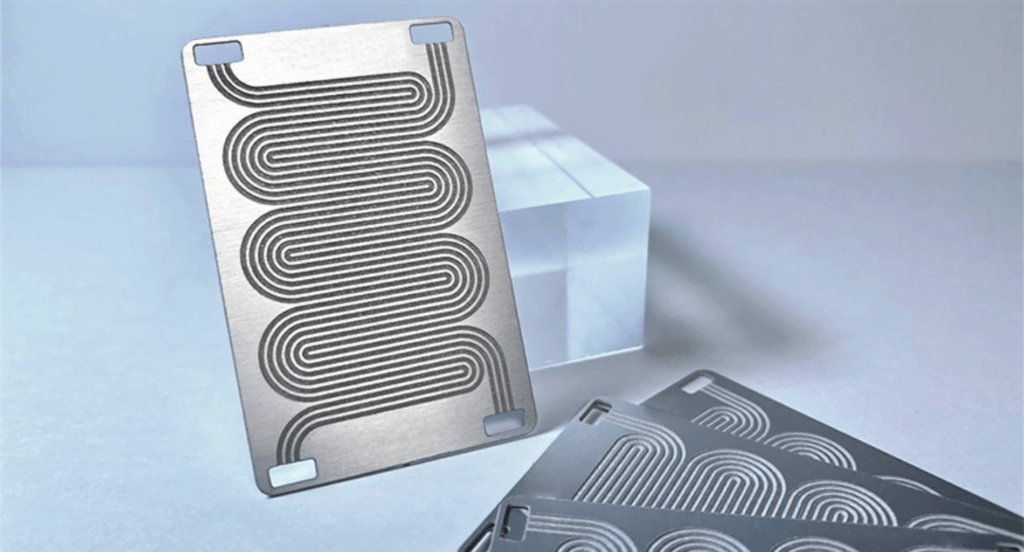
- Desmutting: This involves treating the aluminum with a desmutting solution to remove surface impurities and smut left from the etching process. Common desmutting solutions include nitric or sulfuric acids. Desmutting is essential to ensure that the surface is free of any elements that could hinder the anodizing process.
3. Step#3 The Anodizing Process
With the aluminum perfectly prepared, it’s time to initiate the actual anodizing process. This stage is where imparting aesthetic and functional enhancements to aluminium happens. Here’s how this is done:
- Submersion in Anodizing Tank: Place the prepared aluminum workpieces into the anodizing tank filled with the acid electrolyte solution. This tank acts as the cathode, while the aluminum pieces serve as the anode. The setup is crucial for the electrolytic reaction that forms the anodized layer.
- Application of Electrical Current: A direct current (DC) is applied through the aluminum, initiating the electrolytic reaction. The current’s strength and the duration it is applied determine the thickness and properties of the anodized layer. Control over the electrical parameters is vital for achieving the desired characteristics of the anodized aluminum.
- Formation of Oxide Layer: The electrical current causes the release of oxygen ions from the acid solution, which react with the aluminum surface to form aluminum oxide. This oxide layer grows both outward and inward from the original metal surface. The thickness and density of this layer are critical for the durability and appearance of the product.
- Monitor and Control the Process: Throughout the process, it’s essential to monitor parameters like voltage and temperature. Zemetal rigorously monitors these parameters to guarantee the superior quality of their anodized metal products. Proper control also prevents potential defects in the anodizing layer.
4. Step#4 Adding Colors (Optional)
Following the anodizing process, an optional yet popular step is adding color to aluminium. This process enhances the aesthetic appeal for better customization needs. Here’s a detailed process in adding colors:
- Choose Coloring Method: To begin, choose a coloring method such as dyeing, electrolytic coloring, and integral coloring. Dyeing involves soaking the anodized aluminum in a colored solution, while electrolytic coloring incorporates metal salts into the anodized layer. The choice of method depends on the desired color effect.
- Application of Color: If dyeing is chosen, submerge the anodized aluminum in a bath of organic or inorganic dyes. The absorbent structure of the anodized layer absorbs the dye, allowing for a wide range of colors. The duration of immersion and dye concentration will influence the intensity of the color.
- Sealing the Color: After achieving the desired color, it’s crucial to seal the anodized aluminum. Sealing involves immersing the colored aluminum in hot water or steam, which closes the pores in the anodized layer, trapping the dye inside.This step is vital for color stability and resistance to fading.
- Quality Check and Finishing: Once the coloring and sealing processes are complete, conduct a quality check to ensure the color is evenly applied. Any inconsistencies should be addressed before the product is deemed complete. This final check ensures that the colored anodized aluminum meets the high standards expected in the metal fabrication industry.
5. Step#5 Post-Anodizing Steps
After completing the anodizing and optional coloring process, there are essential post-anodizing steps to ensure the longevity and quality of the finish. Let’s discuss these important post-anodizing steps:
- Rinsing and Neutralizing: Immediately after anodizing, rinse the aluminum thoroughly with water to remove any residual acids or dyes. This step may involve a neutralizing bath to ensure all acidic residues are fully removed. This step prevents any chemical reactions that could damage the newly formed anodized layer.
- Drying: After rinsing, dry the aluminum pieces completely. This can be done through air drying or using a drying oven. Proper drying is crucial to prevent water spots on the anodized surface, which could detract from the finish’s appearance. Zemetal ensures thorough drying in their processes to maintain the high-quality finish of their anodized aluminum products.
- Post-Treatment Surface Finishing: If additional surface finishing is required, such as polishing or applying a protective coating, it should be done after the anodizing process. This step enhances the aesthetic appeal or adds extra protective qualities to the anodized aluminum, catering to specific application needs.
This table details the various aspects of post-treatment surface finishing for anodized aluminum, emphasizing its importance in enhancing aesthetics and adding protective qualities.
| Post-Treatment Type | Purpose | Benefit to Anodized Aluminum |
| Polishing | Enhances shine and smoothness | Improves visual appeal and surface texture |
| Protective Coating Application | Adds an extra layer of protection | Increases durability and lifespan |
| Color Dying | Introduces or enhances color | Customizes appearance for specific uses |
| Sealing | Locks in color and prevents corrosion | Preserves quality and prolongs integrity |
| Texturing | Creates a specific surface feel or pattern | Tailors to functional or aesthetic needs |
6. Step#6 Quality Control and Testing
Following the post-anodizing steps, the final phase is quality control and testing. This phase ensures that the anodized aluminum meets all required standards and specifications. Here are the steps done in this process:
- Visual Inspection: Begin with a thorough visual inspection of the anodized aluminum for any color inconsistencies or irregularities. This step is essential to identify any visible issues that could affect the product’s functionality. A uniform appearance without blemishes is a primary indicator of a successful anodizing process.
- Thickness Testing: As per Verified market Research, anodized aluminum is expected to grow a CAGR of 5.02%, thickness testing becomes increasingly important. Measuring the thickness of the anodized layer with tools like a micrometer is essential to ensure consistent thickness across the aluminum piece. A key factor in guaranteeing its durability and performance in a rapidly growing market.
- Adhesion Test: Perform an adhesion test to ensure the anodized layer firmly adheres to the aluminum substrate. For example, applying adhesive tape and then removed from the surface; the anodized layer should not come off with the tape. Good adhesion is vital for the long-term durability of the anodized finish.
- Corrosion Resistance Test: Conduct corrosion resistance tests to evaluate the anodized layer’s ability to withstand corrosive environments. The aluminum is exposed to a saline mist, and the time it takes for corrosion signs to appear is measured. Superior corrosion resistance is a key benefit of the anodizing process.
Conclusion
In this comprehensive guide, we’ve explored the critical steps involved in the anodizing of aluminum, providing insights that can enhance your business’s approach to metal fabrication. Understanding these steps ensures a high-quality finish, elevating both the aesthetic and functional attributes of your aluminum products.
For those seeking expert assistance or further information on aluminum anodizing, Zemetal is your go-to resource. Contact us today to explore how our expertise can benefit your business needs.
Dive Deeper Into Our Resources
Looking for more diverse service options? Browse through our handpicked selections:
For some insightful reads, we’ve curated a list of recommended articles just for you:
Still haven’t found what you’re looking for? Don’t hesitate to contact us. We’re available around the clock to assist you.


