How can the sheet metal welding process improve your business’s efficiency and product quality? Incorporating this crucial process can make a significant difference in your projects and increase customer satisfaction.
With years of industry experience and a wealth of knowledge of metal fabrication, we bring you insights you can trust. Rely on our expertise to navigate the complexities of the welding process.
The sheet metal welding process is more than just a technique; it’s an art requiring a blend of skill and technological expertise to ensure every weld contributes to the overall integrity and quality of the final product.
In this guide, we’ll unveil the fundamental steps in the sheet metal welding process, providing detailed insights and actionable strategies to achieve superior efficiency and product excellence.
Read on to unlock the secrets of successful sheet metal welding.
Step#1 Selecting the Right Type of Welding
Choosing the appropriate welding method is foundational for effective sheet metal welding as it sets the stage for the entire process. Here are key actions to consider:
- Assessing Metal Type and Thickness: The process begins by evaluating the type and thickness of the metal to work on. Different metals and thicknesses require specific welding techniques for optimal results, such as MIG for thinner metals and TIG for more delicate or precise welds.
- Considering Welding Application and Environment: The welding environment and application influence the choice of welding method. For example, outdoor welding often requires stick welding that are less sensitive to wind and environmental factors, while indoor projects might benefit from the precision of TIG welding.
- Analyzing Required Weld Strength: The strength required for the weld is analyzed, especially if the metal will be subjected to high-stress conditions. Strong, durable welds are often achieved with techniques like MIG, while TIG welding might be the preferred method if precision is more vital than strength.
- Evaluating Welding Speed and Efficiency: The efficiency and speed needed for the project is considered. For quicker welding in high-volume projects, MIG welding is often the go-to method. While for slower projects that demand meticulous attention to detail, TIG welding is chosen.
- Determining Accessibility and Joint Configuration: The joint configuration and accessibility of the welding area is examined. Complex or tight spaces necessitate a more flexible welding technique like TIG. While MIG welding is efficient for simple joints with easy access, especially for long, continuous welds.
Step#2 Gathering Necessary Equipment and Materials
Transitioning from selecting the right welding technique, the next crucial step involves assembling all necessary equipment and materials. Here are the essential materials for a smooth and effective welding process:
- Identifying Welding Equipment: The selection of the welding machine is tailored to match the specific type of weld, metal type, and thickness required for the project. Accessories such as welding guns, torches, and electrodes are also compiled, each chosen carefully to align with the specific welding process in use.
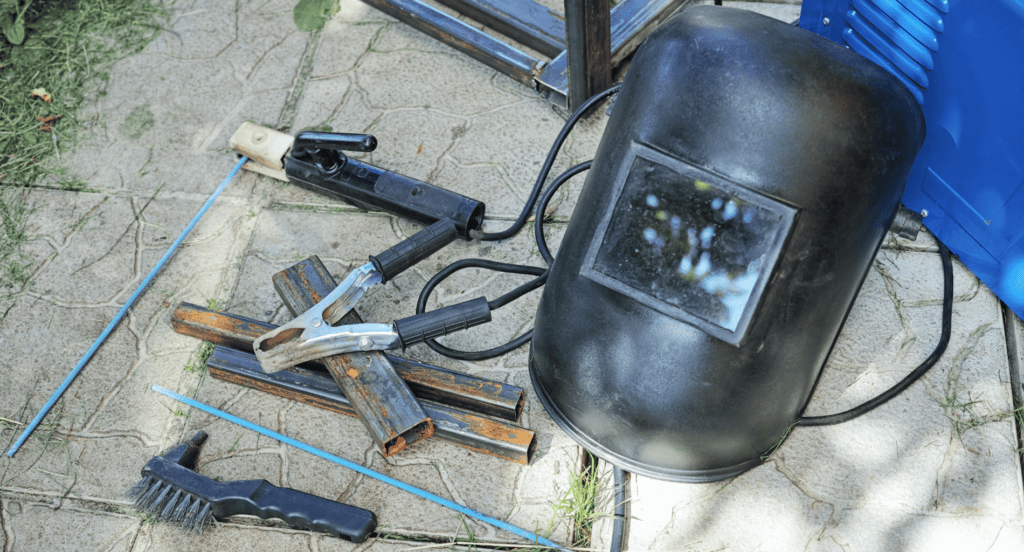
- Acquiring Safety Gear:Safety is vital in welding. Comprehensive safety gear specific to welding operations are obtained. Examples of these are durable welding helmets, heat-resistant gloves, and protective aprons, ensuring availability of sizes that comfortably fit all members of the welding team.
- Stocking Up on Welding Consumables: Allied Market Research predicts a 5.5% CAGR in welding consumables from 2023 to 2032, showcasing the need for sufficient stocks like electrodes, wires, and shielding gas. Efficient inventory management ensures these consumables are available when needed.
- Preparing Power Supply and Grounding Equipment: The power supply is prepared to match the requirements of the welding machine in terms of voltage and amperage. Grounding clamps and cables are set up to establish a safe and effective electrical circuit necessary for the welding process.
- Organizing Additional Tools and Accessories: A variety of additional tools and accessories are organized, including clamps and jigs to secure the metal pieces during welding. Hand tools such as hammers, brushes, and chipping hammers are also prepared for use in cleaning and finishing the welds.
Step#3 Preparing the Sheet Metal
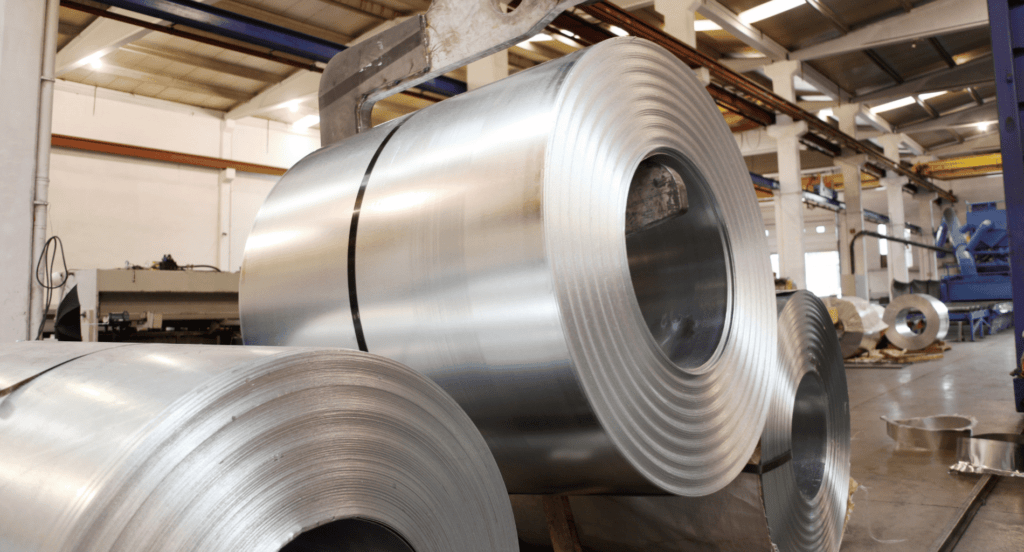
Following the assembly of the necessary equipment and materials, the next phase is preparing sheet metal for welding. Here are the key steps to ensure the metal is ready for an optimal welding process:
- Cleaning the Metal: Before welding, the sheet metal is thoroughly cleaned to remove any dirt, grease, or rust. Appropriate cleaning agents and tools are used to ensure the metal surface is free of contaminants. This is crucial for preventing impurities from affecting the weld’s integrity.
- Aligning and Securing the Metal Pieces: The metal pieces are properly aligned as per the welding plan. Clamps, jigs or other securing devices are utilized to hold the pieces in place securely.
- Marking and Measuring for Accurate Cuts: This involves measuring the areas for cutting or joining with a metal ruler or measuring tape, followed by marking them using a soapstone or metal scribe.
- Cutting the Metal to Size: The metal is cut to size by using tools such as shears, nibblers, or plasma cutters. The focus is on making straight and clean cuts, which are vital for a proper fit in the welding assembly. Zemetal provides expertise to ensure precise cutting, enhancing the quality of every project.
- Grinding the Edges: Grinding the edges of cut metal is usually performed with an angle grinder for a smooth join. This creates polished, angled edges, facilitating a stronger and cleaner weld by enhancing the metal’s readiness to be fused.
Step#4 Setting Up the Welding Machine
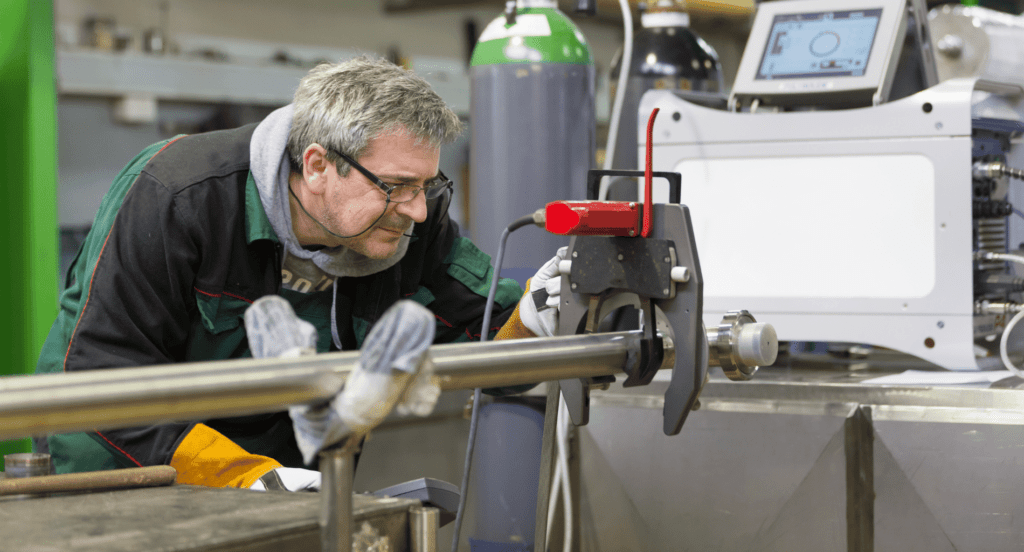
After preparing the sheet metal, setting up the welding machine correctly is crucial for a successful welding process. Here are the critical actions to consider in this step:
- Configuring Machine Specifications: The welding machine is set to the specific parameters required for the project. This involves inputting the correct power, voltage, and amperage settings based on the thickness and type of metal to work on.
- Adjusting the Voltage and Amperage: The voltage and amperage dials are adjusted to match the material’s specifications. For thicker metals, the settings are increased, while for thinner materials, it is lowered to prevent overheating. This ensures compatibility with the specific requirements of the process.
- Selecting the Correct Wire and Electrode: The appropriate welding wire and electrode for the project is chosen. The wire diameter should correspond to the machine’s capacity, and the electrode must be compatible with the metal type.
- Setting the Gas Flow Rate: For methods like MIG and TIG that require gas, a gas supply is connected to the welding machine. The gas flow rate, typically in cubic feet per hour (CFH), is adjusted to suit the specific welding process and the environmental conditions.
- Checking and Securing All Connections: All cables and connections are inspected for signs of wear or damage. Connections, including ground clamps and electrode leads, are then securely attached, ensuring the prevention of electrical hazards and welding defects.
Step#5 Tack Welding
Once the welding machine is set up, the next critical phase is tack welding for maintaining alignment and stability throughout the welding process. Here are the key practices to follow:
- Proper Alignment of Sheet Metal: Before initiating tack welding, sheet metal pieces is properly aligned. Misalignment at this stage can lead to significant issues in the final weld. Clamps or jigs are used to maintain the position during the tack welding process.
- Strategic Tack Weld Placement: Tack welds are applied at strategic points along the joint to hold the metal sheets in place. This prevents warping and maintains alignment during the main welding process.Typically, tack welds are placed at the ends and at regular intervals along the connection point.
- Managing Heat Input: The heat input is controlled during tack welding to prevent distortion. This includes utilizing short welding arcs and avoiding spending too much time in one spot.
- Quality Inspection of Tack Welds: Following the application of tack welds, a quality check is conducted to ensure consistency. The sheets are joined by carefully balancing the strength of each tack weld without making them too large, which could complicate the final welding process.
- Adjusting for Thermal Expansion: The effects of thermal expansion during tack welding is considered. As the metal heats, it expands, which can affect alignment and weld quality. The tack welding technique is adjusted to accommodate this expansion, ensuring a stable and precise final weld.
Step#6 Main Welding Process
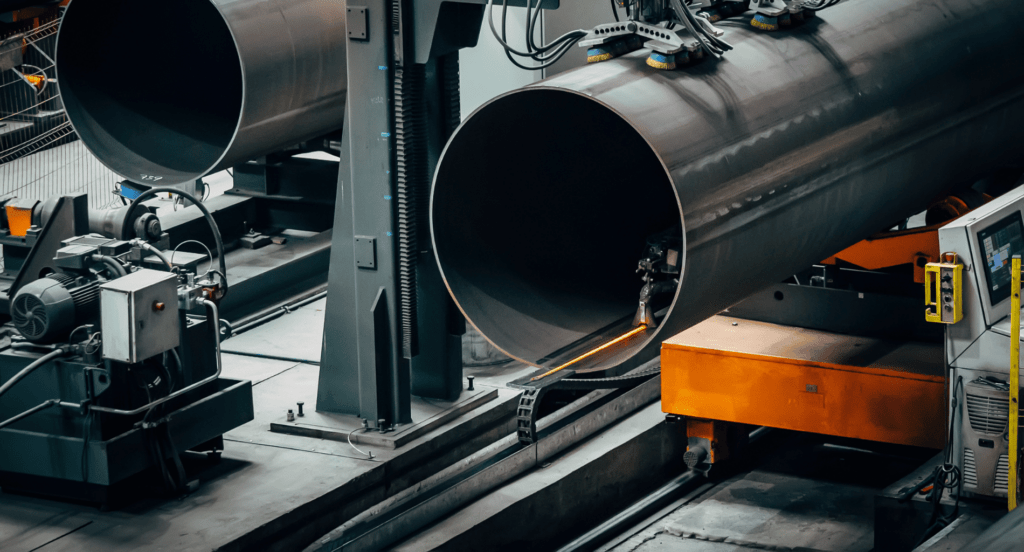
Establishing a solid foundation with tack welding leads to the main welding process, a vital stage where precision and technique play crucial roles. Here are the essential aspects to focus on during this phase:
- Initiating the Weld: The welding process begins with the formation of a small pool of molten metal at the start of the seam. Steady hand and consistent speed is maintained to ensure the molten pool flows evenly along the seam.
- Controlling Heat Input: Heat input is controlled by moderating the welding speed. A balance is needed as a rapid pace can lead to weaker welds, while a slower one might cause overheating. Intermittent welding techniques are sometimes employed to prevent warping or distortion.
- Maintaining Weld Bead Consistency: The welding torch is kept at a constant angle and distance from the workpiece. A smooth, steady motion is needed to ensure that the weld bead remains uniform in size and appearance. Every movement matters for the perfect finish.
- Monitoring for Weld Quality: The weld is continuously inspected by checking the uniformity, consistency, and defects like porosity, cracks, or inclusions. Then, immediate action to fix the weld is done.
- Layering Welds for Thickness: In cases where thicker welds are required, the welds are layered appropriately. This involves laying down multiple passes of weld beads, allowing each layer to cool sufficiently before applying the next, ensuring thickness without compromising the weld quality.
Step#7 Checking and Cleaning the Weld
Ensuring the quality and cleanliness of a weld is crucial once the main welding process is complete. Here are the key tasks to focus on in this step:
- Visual Inspection of the Weld: Thorough visual examination for cracks, undercuts, or incomplete fusion on the weld is implemented. This initial check can quickly identify surface flaws that need immediate attention. Zemetal prioritizes meticulous inspection for top-quality sheet metal welding.
- Cleaning Slag and Spatter: Any slag or spatter that has formed on the weld and surrounding areas are cleaned. Appropriate tools like wire brushes or slag hammer are used for efficient cleaning. This is essential for both aesthetic reasons and for preparing the weld for any further treatments or inspections.
- Non-Destructive Testing (NDT):Non-destructive testing methods are implemented to assess the weld’s internal structure. For example, techniques like ultrasonic testing or radiographic imaging are commonly used, detecting internal flaws that can’t be seen through visual inspection.
- Final Cleaning and Polishing: This step is finished by thoroughly cleaning the weld area to remove any remaining debris or marks. Suitable cleaning agents and tools are utilized. Then, a polishing tool is used like a sanding pad or buffing wheel to smooth the weld surface, giving it a clean and polished appearance.
This table provides a clear overview of the steps involved in the final cleaning and polishing of a weld, highlighting the importance of using appropriate tools and agents to achieve a clean, smooth, and polished finish on the welded area.
| Step | Process | Tools/Agents Used | Purpose |
| Final Cleaning | Thoroughly clean the weld area to remove debris and marks. | Suitable cleaning agents and tools (e.g., brushes, solvents). | Ensures the removal of any residual debris, spatter, or marks from the welding process. |
| Polishing | Use a polishing tool to smooth the weld surface. | Sanding pad, buffing wheel, or other appropriate polishing tools. | Achieves a clean and polished appearance, smoothing out any roughness on the weld surface. |
Step#8 Cooling and Post-Weld Treatments
The completion of checking and cleaning the weld leads to the essential steps of cooling and post-weld treatments to ensure long-term weld integrity. Here are the crucial actions to take in this final phase:
- Ensuring Proper Cooling: After welding, it’s vital to allow the metal to cool down naturally. Rapid cooling can cause stress and cracking in the weld. Surroundings should be stable for consistent cooling, avoiding air movement and temperature changes.
- Cleaning the Weld Area: Once cooled, the weld area is cleaned again and any remaining slag, spatter, or residue is removed. This is crucial for both aesthetics and structural integrity. Appropriate cleaning tools and methods are employed specific to the metal type.
- Inspecting for Distortion and Warping: After cleaning, the weld is inspected for any signs of distortion or warping. If any irregularities are found, they are addressed through straightening or re-welding to ensure the final product meets dimensional specifications.
- Applying Post-Weld Heat Treatment (PWHT): If necessary, PWHT is applied to relieve residual stress. This involves heating the welded component to a specific temperature and then controlling the cooling rate to enhance the mechanical properties and longevity of the weld.
- Applying Protective Coatings: Finally, any necessary protective coatings is applied to the weld area. This may include rust inhibitors, paints, or anti-corrosion treatments depending on the application. These finishes protect the weld from environmental factors and enhance its overall durability and appearance.
Conclusion
Thoroughly understanding sheet metal welding process can significantly simplify operations, ensuring a blend of precision and efficiency. This guide serves as an essential roadmap, offering practical steps and insights to enhance your techniques and optimize your offerings.
For those seeking updated sheet metal welding solutions, Zemetal is your ideal partner offering innovation and quality. Contact us today to learn how our tailored approach can elevate your projects.
Dive Deeper Into Our Resources
Looking for more diverse service options? Browse through our handpicked selections:
Still haven’t found what you’re looking for? Don’t hesitate to contact us. We’re available around the clock to assist you.


